Why tmux
From the user point of view a terminal is a simple command line where you first navigate into a directory, then run some commands there, navigate elsewhere and run some other commands. It can be tedious to move around all the time, so if you're using an app like the Terminal.app or iTerm2, you could open a few tabs, one per project you're working on. However then when you close the app, you'll have to set up all the locations again when you start working.
This is the workflow I use tmux for. Tmux can be used for lots of other things, like rich environments on remote machines with SSH tunneling, but today I want to focus on the local workflow.
There are some important concepts in tmux:
sessionsare sets of windows, you can switch between them usingctrl + b swindowsare sets of panes arranged in a specific way. You can switch between them usingctrl + b <num>where<num>is the number of the window you want to selectpaneswhich are the splits of a window. Generally you can have more than one pane displayed at a time. You switch between panes usingctrl + b <left/right/top/bottom arrow>
Tmux setup
To get started, you can install tmux using the simple brew install tmux. Once you have it installed, you can simply start it by typing
tmux
This will start a shell that looks almost identical to the one you had before. Only now you have some keyboard shortcuts to start with.
Tmux has this concept of prefix, by default it's ctrl + b. This means that every tmux keyboard shortcut is prefixed with ctrl + b (meaning you first press and hold ctrl, then press b, then release both keys. Then you press the shortcut key).
tmuxp
Now tmuxp is a program that lets you manage tmux sessions declaratively. You can install it using
brew install tmuxp
Then in ~/.config/tmuxp/dot.yaml you can have a file that looks like this:
session_name: dotfiles
windows:
  - window_name: dotfiles
    layout: main-vertical
    options:
      main-pane-width: 50%
    shell_command_before: cd ~/.dotfiles
    panes:
      - nvim
      - blank
  - window_name: blog
    layout: main-vertical
    options:
      main-pane-width: 50%
    shell_command_before: cd ~/blog
    panes:
      - nvim
      - blank
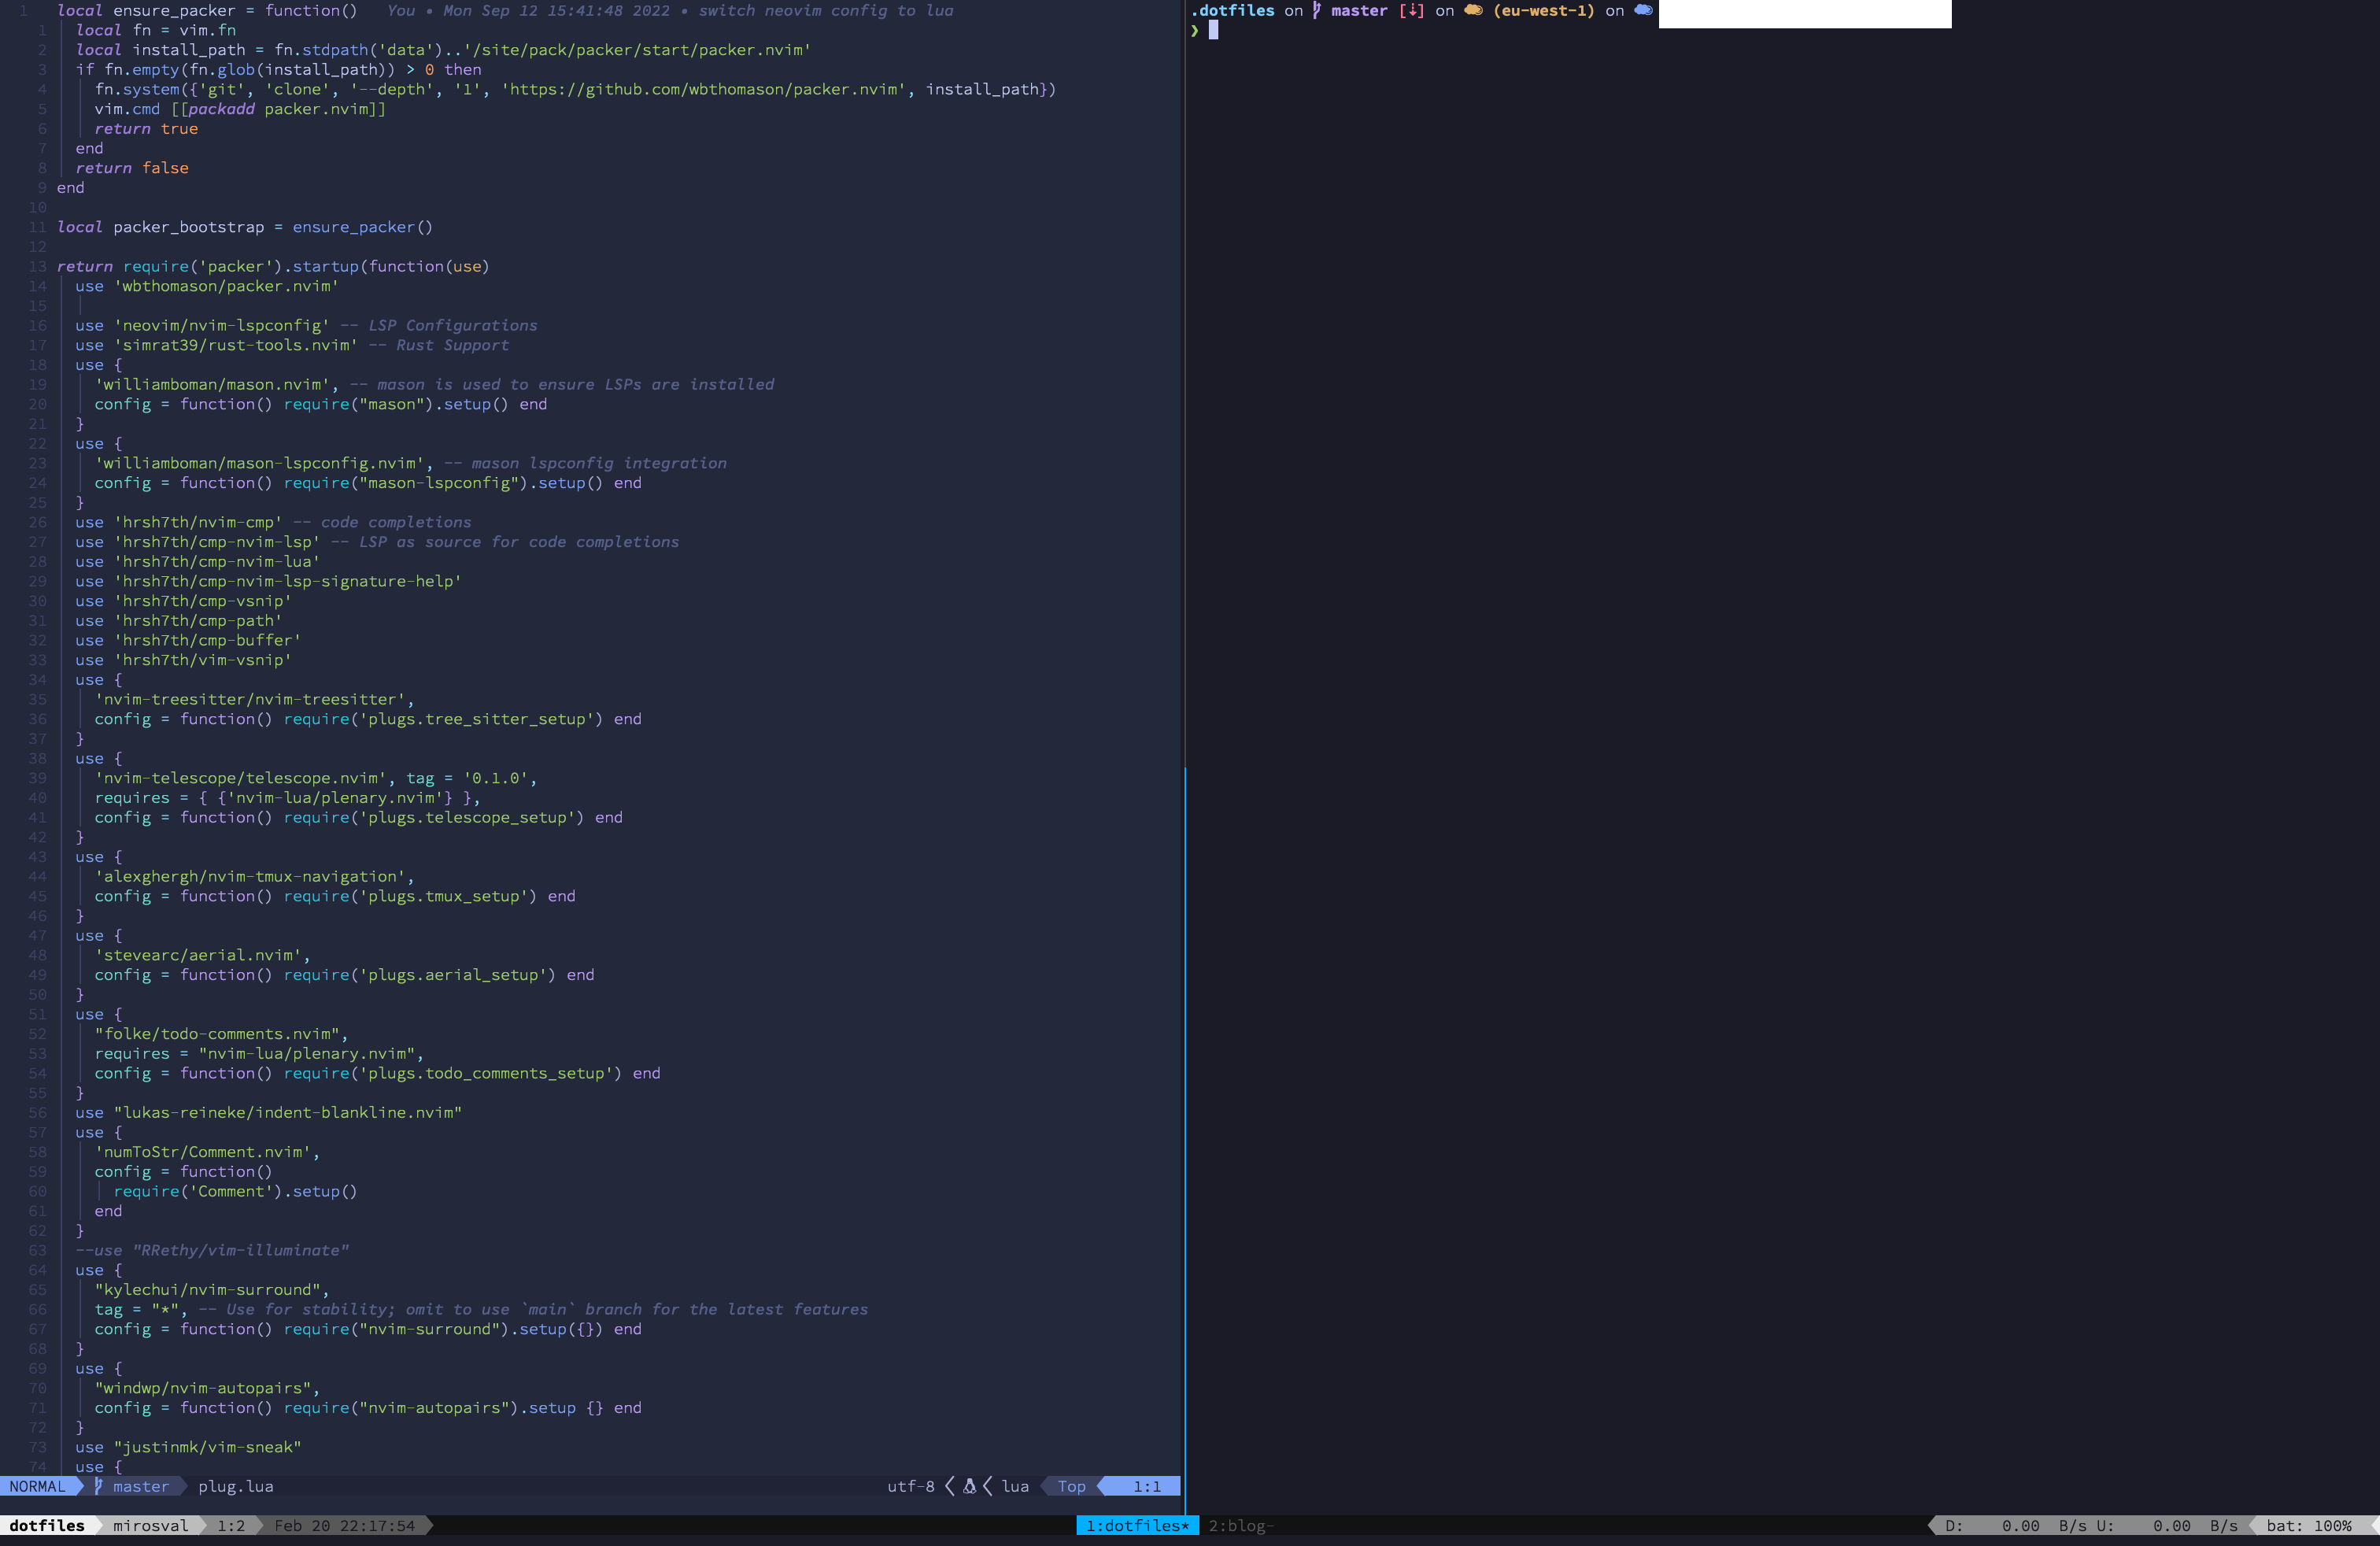
What this configures is that there will be a session called dotfiles, in it there will be 2 windows, one called dotfiles and one called blog. Each of these windows starts in its own directory and consists of 2 panes: neovim and blank pane. The main-vertical layout means that the first split will be vertical, i.e. you have the main pane on the left half of the screen and the right half of the screen will be split horizontally into multiple panes if you add more than the 2.
Its a good idea to logically group projects into these sessions. For example I have one session for the ETL, one for infrastructure and another for services.
In order to go from empty terminal to a loaded project you can write
tmuxp load ~/.config/tmux/dot.yaml
It will set up all the sessions and windows and seed them with the right commands so you can jump right into work.
Tmux, nvim and others are usually super light-weight, so I just keep them all open at the same time. Thanks to sessions and windows I can have order in all my projects and it barely makes a dent in my computer's RAM. Which can not be said about most IDEs.